Blog
How to Make a Digital Planner (Tools, Sizes, Hyperlinks)
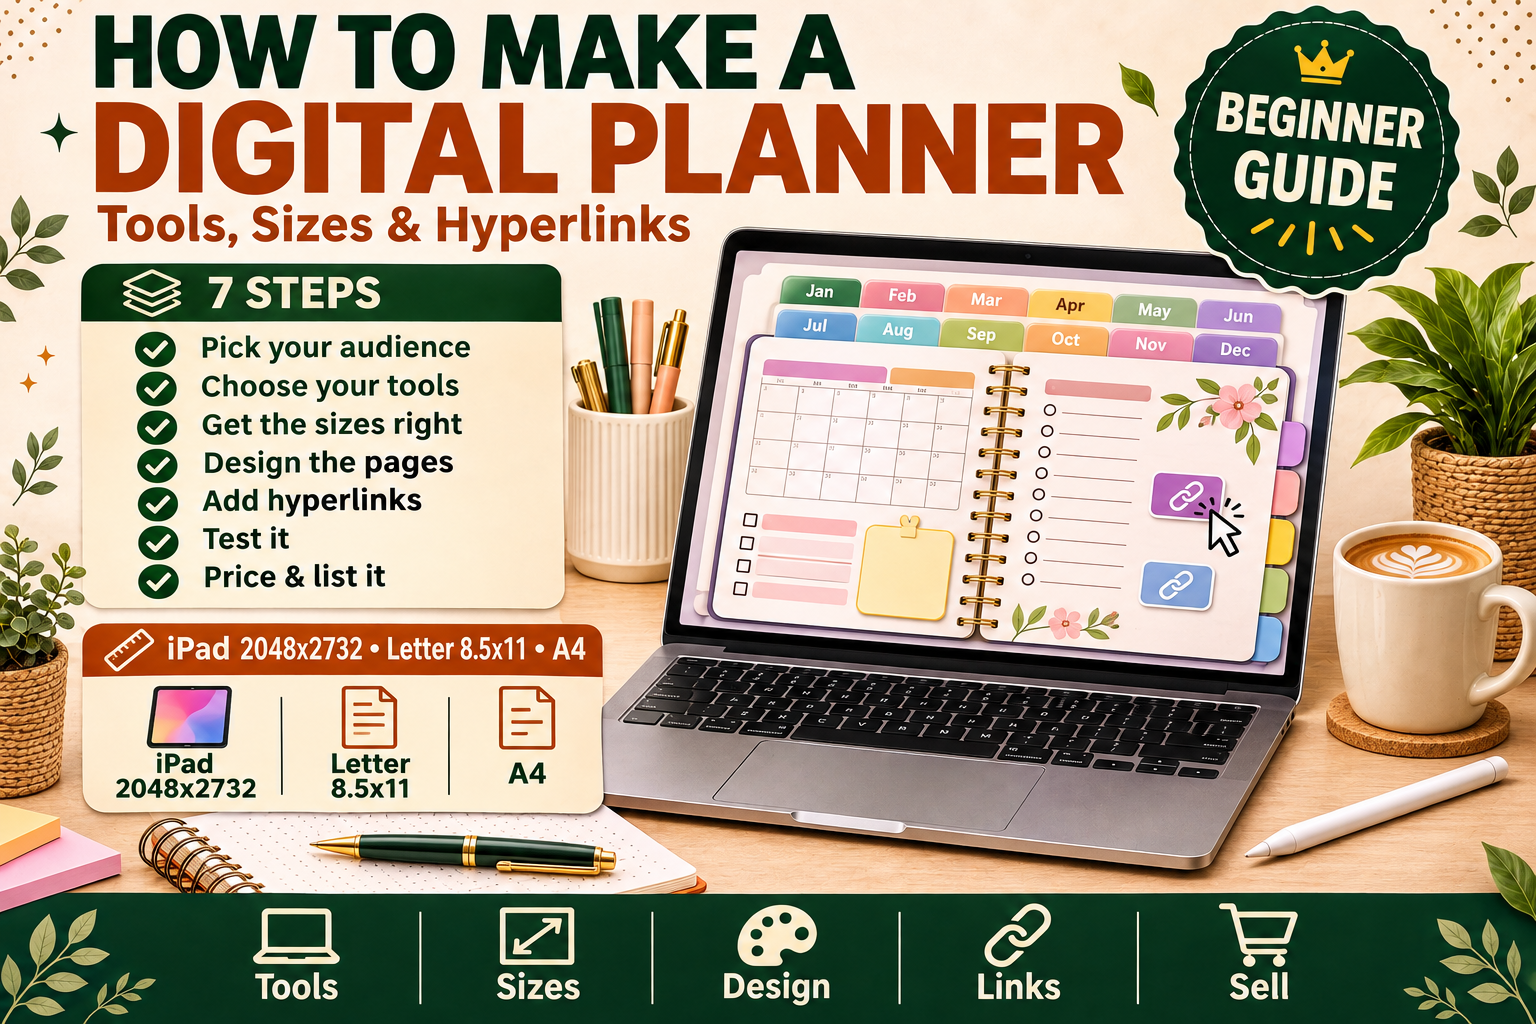
Learn how to make a digital planner that sells: the best tools (Canva, PowerPoint, Keynote), the right page sizes, hyperlinked tabs, and how to price and list it on Etsy.
Digital planners are one of the best-selling digital products on Etsy — and one of the most beginner-friendly to make. A buyer downloads your planner once, opens it in an app like GoodNotes or Notability, writes on it with a stylus, and taps hyperlinked tabs to jump between months, weeks, and trackers. No printing, no shipping, no inventory.
But most first planners fail for avoidable reasons: the pages are the wrong size, the tabs don't link anywhere, the design is hard to write on, or the file is too big to open smoothly on a tablet. This guide walks you through the whole process — choosing your planner type, picking the right tools, getting the sizes right, adding hyperlinks, and listing it for sale — so your first planner is one buyers actually enjoy using.
What Is a Digital Planner (and Why They Sell)
A digital planner is a PDF designed to be used on a tablet with a note-taking app. Instead of flipping paper pages, the user taps a tab — "January," "Weekly," "Habits" — and jumps straight to that page. They write with an Apple Pencil or stylus, add stickers, and reuse the same planner year after year.
They sell well for three reasons:
- They solve a real daily problem. People plan their days, track habits, budget money, and organize school or work — every single day.
- They are reusable. Unlike a printable that gets used once, a digital planner can be duplicated and reused, which makes it feel like good value.
- They are easy to niche down. A generic "planner" competes with thousands of listings. A "digital planner for nursing students" or a "budget planner for freelancers" competes with far fewer — and speaks directly to one buyer.
If you have never made a digital product before, a planner is a great first project: the skills you learn (page design, linking, exporting) transfer directly to journals, workbooks, and templates. Our step-by-step guide on how to create a digital product in Canva covers the same workflow from a blank canvas to a finished file.
Step 1: Pick Your Planner Type and Audience
Before you open any design tool, decide exactly who your planner is for and what it does. "A planner for everyone" is a product for no one.
Start with one of these proven types:
- Daily / weekly / monthly planner — the classic all-in-one planner with dated or undated pages.
- Budget planner — income, expenses, savings goals, and debt payoff trackers. This is one of the strongest niches: buyers search for budget tools constantly.
- Student planner — class schedules, assignment trackers, exam countdowns, and study logs.
- Fitness or wellness planner — workout logs, meal planning, habit trackers, and mood trackers.
- Business or content planner — content calendars, client trackers, and goal planning for creators and freelancers.
- Teacher planner — lesson planning, attendance, grading, and classroom organization.
Then narrow it to one buyer. "Budget planner" is broad; "budget planner for new moms on one income" is a product with a clear customer. Write down your buyer's name, age, and biggest planning frustration before you design a single page. Every page you include should solve one of their problems.
A good starter planner has 20–40 pages: a cover, an index or contents page, yearly and monthly overviews, weekly spreads, a few daily pages, and 3–5 trackers (habits, budget, notes). You can always expand it into a bundle later — see our guide on how to turn one template into a bundle.
Step 2: Choose Your Tools
You do not need expensive software. Here is how the main options compare:
| Tool | Best for | Cost | Hyperlinking |
|---|---|---|---|
| Canva | Fast design, templates, beginners | Free plan works; Pro adds features | Add links in Canva, export as PDF |
| PowerPoint | Full control over links and navigation | Included with Microsoft 365 | Excellent — native hyperlink support |
| Keynote | Same as PowerPoint, on Mac/iPad | Free on Apple devices | Excellent — native hyperlink support |
| GoodNotes | Testing and using your own planner | App purchase | Not a design tool — use it to test |
| Affinity Designer | Professional vector design | One-time purchase | Export to PDF, then link in another app |
| Procreate | Hand-drawn, artistic planners | One-time purchase | No — design pages, then link elsewhere |
For most beginners, Canva is the fastest way to a good-looking planner, and PowerPoint or Keynote is the most reliable way to add hyperlinks. Many sellers design pages in Canva, then link them in PowerPoint — you get the best of both.
Whichever tool you choose, keep your design consistent: one font pairing, one color palette (3–5 colors), the same margins on every page, and the same tab style throughout. Consistency is what makes a planner feel professional instead of thrown together.
Step 3: Get the Sizes Right
Size mistakes are the most common reason buyers leave bad reviews. A planner made at the wrong size looks stretched, leaves huge empty margins, or is too small to write on. Match your page size to how buyers will actually use it:
| Use case | Page size | Notes |
|---|---|---|
| iPad / tablet (most buyers) | 2048 × 2732 px (or 11" × 8.5" landscape) | The standard GoodNotes size; portrait or landscape both work |
| US Letter printable version | 8.5" × 11" | Offer this as a bonus if you also want print buyers |
| A4 printable version | 8.27" × 11.69" | Important for buyers outside the US |
| Half-letter / A5 | 5.5" × 8.5" / 5.83" × 8.27" | Popular for compact planners and journals |
| Phone-friendly | 1080 × 1920 px | Only if you specifically target phone users |
Practical rules:
- Design at tablet size first. Most digital planner buyers use an iPad, so design for that screen and offer printable sizes as extras.
- Keep a safe margin. Leave at least 0.5 inches (about 60–70 px at tablet size) around every edge so writing and tabs never get cut off.
- Use the same size for every page. Mixed sizes break the navigation experience and look unprofessional.
- Pick portrait or landscape and commit. Portrait feels like a real planner; landscape gives more writing room per page. Either works — mixing them does not.
If you plan to sell a printable version too, export it separately at US Letter and A4. Do not just stretch your tablet pages — text and lines will distort.
Step 4: Design the Pages
A planner is a system, not a pile of pretty pages. Design in this order:
- Cover page — your planner's first impression. Title, subtitle, and a clean design that matches your listing photos.
- Index / contents page — a grid of linked buttons to every section. This is the navigation hub.
- Yearly overview — a 12-month view at a glance.
- Monthly pages — one per month, with a calendar grid and a notes area.
- Weekly spreads — the pages buyers use most. Seven days, space to write, and a small priorities box.
- Daily pages — optional, but popular in premium planners: schedule, to-do list, water and mood trackers.
- Trackers — habit tracker, budget tracker, savings tracker, meal planner, and a notes page. Pick the 3–5 that fit your audience.
Design tips that matter:
- Leave real writing space. Decorative elements are nice, but if a buyer cannot fit their handwriting in a box, the page is useless. Test every page by writing on it yourself.
- Use light lines and grids. Thin, light-gray lines guide handwriting without competing with it.
- Repeat the same header and tab bar on every page so buyers always know where they are.
- Add page numbers to content pages — buyers reference them when they ask questions.
- Keep the file light. Heavy background images on every page make the PDF slow on a tablet. Use flat colors and simple shapes where you can.
Want a working example to study? Our free Budget Planner Pro is an interactive budget tracker you can download and explore — it shows how a planner-style product can work as a functional tool, not just a pretty PDF.
Step 5: Add Hyperlinks (the Part That Makes It "Digital")
Hyperlinks are what turn a stack of PDF pages into a real digital planner. Without them, buyers have to swipe through 40 pages to find March. With them, one tap on a tab jumps straight there.
Here is the basic process:
- Add a tab bar to every page — small buttons along the top or side labeled with months, sections, or page names.
- Link each tab to its destination page. In PowerPoint or Keynote, select the tab shape, insert a hyperlink, and choose the target slide. In Canva, select the element and add a link to the page number before exporting as a PDF.
- Link the index page to every section so buyers can jump from the contents to any part of the planner.
- Add a "back to index" button on every content page — usually a small home icon in the same corner every time.
- Link monthly pages to their weeks, and weekly pages back to their month, so navigation works in both directions.
Then test every single link. Open the exported PDF in GoodNotes or Notability, tap each tab, and confirm it lands on the right page. A planner with broken links gets refund requests — a planner with smooth navigation gets five-star reviews.
Our dedicated tutorial walks through the whole process in detail: how to add hyperlinks to a digital planner PDF.
Step 6: Export and Test Before You List
Never list a planner you have not tested yourself on a real tablet. Before publishing:
- Export as PDF (not as images, not as a Canva link). Check that all hyperlinks survive the export.
- Open it in GoodNotes and Notability and tap through every tab, the index, and the back buttons.
- Write on several pages with a stylus or your finger. Check that lines, boxes, and text are big enough to write in.
- Check the file size. Aim for under 20 MB if you can; large files are slow to open and some marketplaces limit upload sizes.
- Duplicate a weekly page and confirm the links still work after duplication (buyers will do this constantly).
- Test on a second device if possible — a phone or a different tablet — to catch sizing surprises.
Fix anything that feels awkward now. Once buyers have the file, you cannot quietly patch their copy.
Step 7: Price and List It
Digital planners on Etsy typically sell for $5–$25, with most complete hyperlinked planners in the $8–$19 range. A small 20-page planner might sell for $7; a 60-page planner with stickers and multiple color themes can justify $19 or more. Price on value, not page count — a focused planner that solves one buyer's problem beats a bloated one.
Before you set your price, read our guide on how to price digital products — it covers fees, pricing psychology, and bundle math. Then build your listing:
- Title: include the planner type, the audience, and the app it works with — for example, "Digital Budget Planner for iPad, Hyperlinked GoodNotes Planner."
- Mockups: show the planner open on a tablet, a close-up of a weekly spread, and the tab navigation. Buyers need to see it working.
- Description: list every page included, the apps it works with, the file format and size, and how to import it. Answer the questions buyers always ask before they ask them.
- Tags: use all 13 Etsy tags with specific phrases like "digital planner goodnotes," "ipad planner hyperlinked," and "budget planner digital."
- A free sample: offering one or two free pages builds trust and grows your email list. A freebie also gives you something to link from your blog posts and Pinterest pins.
Common Mistakes to Avoid
- Designing for print and calling it digital. A printable PDF without hyperlinks is not a digital planner — buyers will notice immediately.
- Too many pages, too little value. Forty near-identical pages are not better than twenty useful ones. Every page should earn its place.
- Tiny writing areas. If you cannot comfortably write a normal to-do item in a box, make the box bigger.
- Forgetting the back button. Buyers get lost without a way home. Put a home link on every page.
- Skipping the test. The most common one-star review for planners is "links don't work." Test every link before you list.
- Copying a bestseller's design. Use bestsellers for research, not as a template to trace. Your planner needs its own look and its own audience.
FAQ
What app do buyers use with a digital planner?
Most use GoodNotes or Notability on an iPad. Some use Noteshelf, Samsung Notes, or ZoomNotes. Design for GoodNotes first, since it is the most popular, and mention the compatible apps in your listing.
Do I need an iPad to make a digital planner?
No. You can design in Canva or PowerPoint on any computer and test the PDF in a free GoodNotes trial or by asking a friend with a tablet to test it. An iPad makes testing easier, but it is not required to start.
Can I make a digital planner in Canva?
Yes. Canva is a great tool for designing planner pages, and you can add hyperlinks to elements before exporting as a PDF. For complex navigation with many tabs, many sellers design in Canva and do the linking in PowerPoint or Keynote for more control.
How many pages should a digital planner have?
A good starter planner has 20–40 pages. A premium planner can have 60–100 pages, including dated and undated versions, multiple color themes, and sticker sheets. Start smaller, get feedback, and expand.
How much can I earn selling digital planners?
It depends on your niche, listing quality, and traffic. A well-made planner in a clear niche at $12–$19 can earn steadily once it ranks, and bundles and related products (stickers, trackers, journals) add to each sale. There are no guarantees — focus on making a planner buyers love, then drive traffic with Pinterest and SEO.
Final Thoughts
Making a digital planner is one of the most rewarding first products for a beginner seller: you learn design, linking, exporting, and listing in a single project, and you end up with a product people use every day. Start with one clear audience, design at the right size, link every tab, and test the file like a buyer would. Then list it, watch the feedback, and improve it — your second planner will be twice as good as your first.
Related Reading
- How to Add Hyperlinks to a Digital Planner PDF — the full linking walkthrough.
- How to Create a Digital Product in Canva, Start to Finish — the same workflow for any Canva product.
- How to Price Digital Products — fees, psychology, and pricing strategy.
- Budget Planner Pro (Free) — a free interactive budget tracker to study and share.