Canva Tutorials
How to Create a Digital Product in Canva, Start to Finish
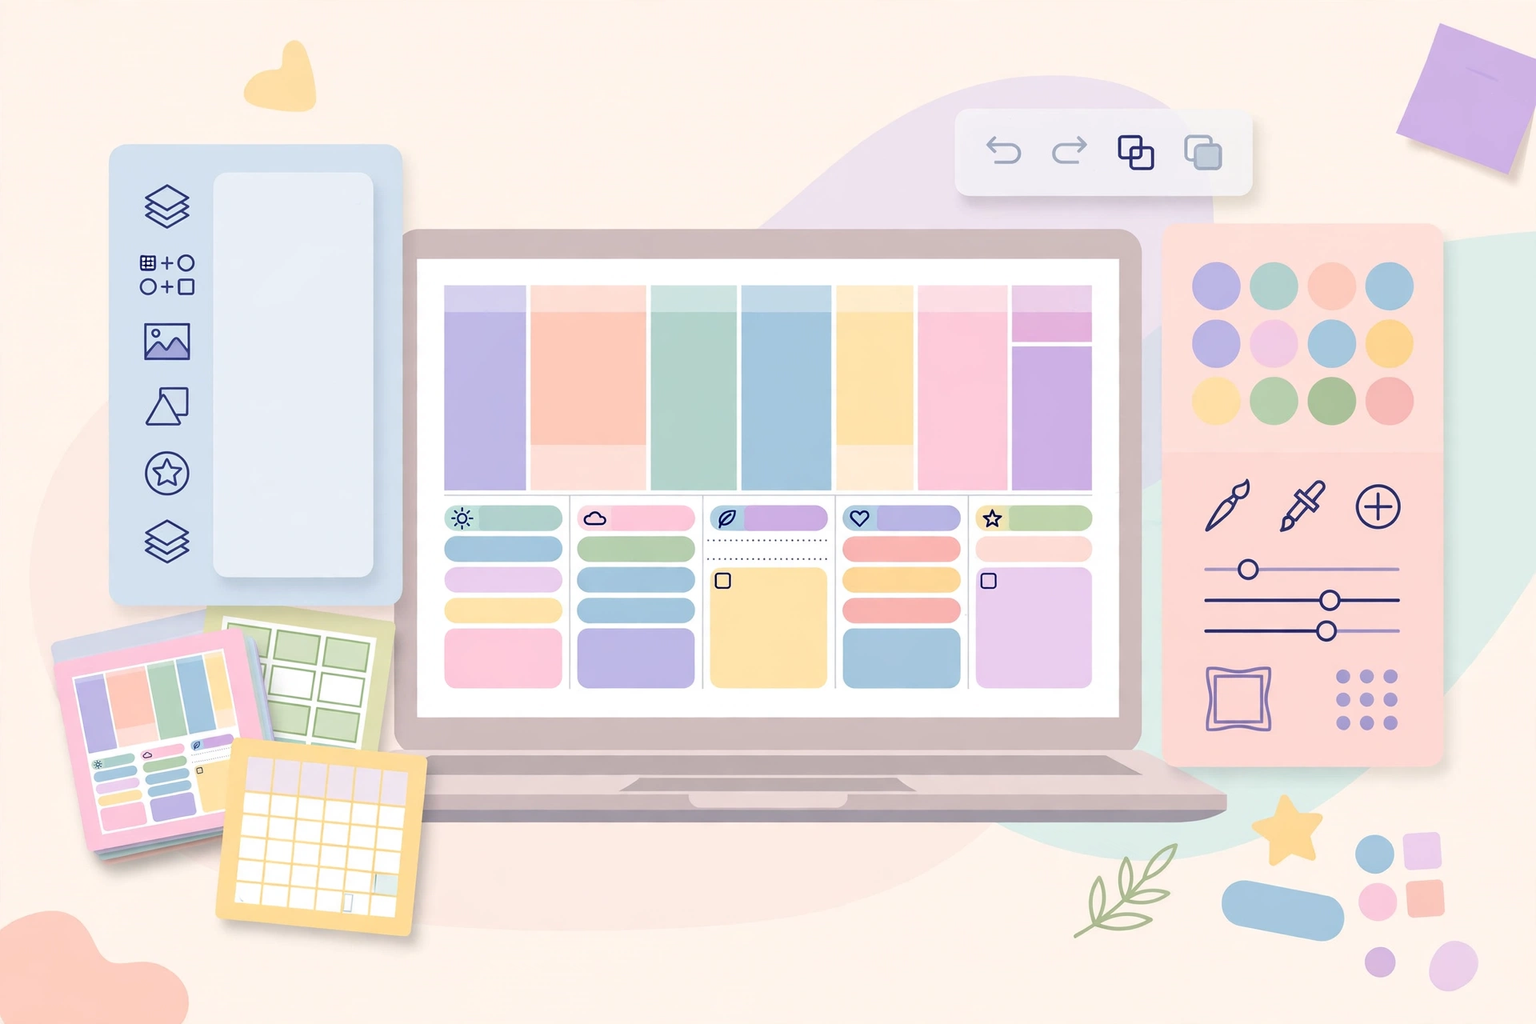
A complete beginner walkthrough: pick one product, set up Canva correctly, design it, export it, package it and test it — so the file you sell is the file a buyer can actually use.
If you have ever opened Canva, made something pretty, and then stalled on the question "is this actually a product?", this tutorial is for you. Creating a digital product in Canva is not one skill — it is a short chain of decisions: pick one product for one buyer, set the file up correctly, design it, export it in a format a buyer can use, and test it before anyone pays for it. Skip any link in that chain and you get the classic beginner problem: a beautiful file that prints wrong, opens broken, or confuses the buyer.
This tutorial walks the whole chain with one worked example — a printable weekly planner page — so you can follow it with any product type afterwards. It covers creation only. Pricing and selling are separate steps, and they are linked at the end rather than crammed in here.
1. Choose one product — and one buyer
Most first products fail before Canva is even opened, because they try to serve everyone. "A planner" is not a product. "A weekly planner page for teachers, with a lesson-plan column and a printable A4 PDF" is a product: you know who it is for, what job it does, and what format it arrives in.
Pick from a product type you can finish in one sitting, and name its buyer in one sentence:
| Product type | One clear buyer | Start in Canva with |
|---|---|---|
| Printable weekly planner page | Teachers planning a school week | A4 document, one page |
| Worksheet or activity sheet | Homeschool parents teaching one topic | A4 or US Letter document |
| Social media template pack | Small sellers promoting a shop | 1080 × 1350 px Instagram post |
| Checklist or tracker | Beginners starting a habit or budget | A4 document, 1–3 pages |
Write your one sentence down before you design anything: "This is a [product] for [buyer] who wants to [job]." Every design choice after this should serve that sentence. If a feature does not serve it, cut it. A first product with one job done well outsells a 40-page pack where every page does a different job badly.
If you are still stuck on the idea itself, our guide to best digital products to sell in 2027 for beginners compares product types with real costs, so you can choose an idea with its price and effort already in view.
2. Set up your Canva file the right way
Setup takes five minutes and prevents the most common beginner disaster: designing at the wrong size and discovering it only at export time.
- Choose the size for the use, not the screen. Printables should be A4 (210 × 297 mm) or US Letter (8.5 × 11 in) — pick the one your buyer actually prints on. Social templates should be 1080 × 1350 px for portrait posts. In Canva, use "Custom size" and type the exact dimensions; do not start from a random presentation template and hope it prints correctly.
- Leave margins. Keep text and important lines at least 15–20 mm (about 0.6–0.8 in) from the edge of a printable page, so home printers, which cannot print to the very edge, do not cut anything off. Turn on Canva's rulers and guides and drag a margin guide onto each side.
- One product, one file, clearly named. Name the file the way a buyer would recognise it, for example "Weekly-Planner-Page-Teachers-A4". Keep a working copy and an export copy separate, so you never overwrite your editable original with a flattened export.
- Decide your page count now. A first product of 1–5 pages is plenty: a cover page, the main pages, and one instructions page. A 30-page pack sounds impressive, but every extra page is another page to design, proofread and test, and buyers judge a product on whether the first page works, not on how many pages it has.
- Mind what you are allowed to sell. Canva's licence rules matter here, and they change, so check Canva's current terms before you list anything. As a safe beginner rule: build the product from your own layouts, your own text and basic shapes, and be careful with stock photos, illustrations and Pro elements — some Canva content cannot be resold as part of a template or a standalone file. When in doubt, leave that element out. A product made from your own design is yours to sell without that worry.
3. Design it, step by step
Here is the worked example: one weekly planner page for a teacher. The same steps work for a worksheet, a tracker or any single-page printable — only the boxes change.
- Draw the structure before you decorate. Add a header bar for the week title and dates, then divide the page into seven day columns (or five, for a school week) and one notes column. Structure first, colour second. If the page works in plain black and white, it will work in colour; the reverse is not true.
- Pick two fonts, maximum three. One clear heading font and one readable body font is enough. Decorative script fonts look lovely in a preview and become unreadable at print size, so test every font at the size it will actually print, not at full-screen zoom.
- Pick a small colour palette and stick to it. Three colours plus black and white is plenty: one main colour, one accent and one soft background shade. Use the accent sparingly — for day headers or checkboxes — so the eye knows where to look first.
- Make repeating elements once, then copy them. Design one day column properly — header, lines, a small checkbox row — then duplicate it across the page. This keeps spacing identical, which is the difference between a product that looks designed and one that looks assembled.
- Leave white space on purpose. A planner page that is full edge to edge cannot be written on, and a worksheet with no answer space cannot be used. Empty space is not wasted space; it is where the buyer does the work your product exists for.
- Add a small footer. A page number, your shop name and a one-line note ("Print at 100% scale, A4") costs one line and saves a dozen buyer questions later.
If you want to go deeper on template design itself — building reusable pages, sharing template links and the mistakes that make templates hard to edit — our tutorial on how to create a Canva template step by step covers that side in detail. This tutorial is about finishing one sellable product; that one is about making templates other people can reuse.
4. Decide: printable PDF, editable template, or both?
This is the decision beginners most often leave until after export, when it is hardest to change. Make it now, because it changes how you build the file:
| Format | What the buyer gets | Best when | Watch out for |
|---|---|---|---|
| Printable PDF | A finished file to print as-is | Planners, worksheets, checklists, trackers | Text is not editable; the design must be right before export |
| Editable Canva template link | A copy of your Canva design they can edit | Social templates, resumes, invitations | The buyer needs a Canva account, and Canva content licences apply — check the current rules |
| Both | A printable version plus an editable version | A flagship product you plan to price higher | Twice the testing: both versions must work, and buyers will ask which one to use |
For a first product, a printable PDF is the simplest honest choice: what the buyer sees in your preview is exactly what they print. Offer an editable version only when you have tested the editing experience yourself, from a fresh Canva account, and you are sure a buyer can change the text without breaking the layout.
5. Export, name and package your files
Exporting is where good designs quietly break, so do it deliberately rather than clicking the first download button.
- Export printables as PDF Print. In Canva, choose Download → PDF Print, not PDF Standard, for anything a buyer will print. PDF Print keeps the quality high and the text sharp. For social templates, export PNG (or JPG for photos) at the design's full size.
- Flatten what should not move — but keep your original. The exported PDF is the product; your Canva file is the master. Never send a buyer your only editable copy unless that is deliberately the product (the template-link case above).
- Name files the way a buyer files them. "Weekly-Planner-Teachers-A4.pdf" beats "Untitled-design-final-v3.pdf". If the product has several files, put them in one clearly named folder, for example "Weekly-Planner-Teachers-A4/", with the main file first and any instructions file labelled "READ-ME" or "Instructions".
- Add one instructions page. A single page at the front of the PDF (or a short text file alongside it) that says what is included, what size to print at, and how to use it. This page answers the questions buyers would otherwise email you about, and it makes the product feel finished rather than just exported.
- Make a preview the buyer can judge. Show the product in use: a flat view of the full page, plus one close-up of a filled-in section, so buyers can see the writing space and the print quality. Canva's mockup frames can help, but a clean full-page preview matters more than a fancy staged photo. Never watermark the preview so heavily that buyers cannot tell what they are buying — a small watermark in a corner is enough.
6. Test it exactly like a buyer would
Do not skip this section. Almost every "my product is broken" message a beginner seller receives traces back to a test that was never run.
- Print it. Print one copy at 100% scale on the paper size you promised, in black and white as well as colour. Check that nothing is cut off at the edges, the text is readable, and the writing lines are usable. If you do not have a printer, print to PDF and view it at 100% zoom, page by page.
- Open it on a phone. Many buyers open their download on a phone first. Check the PDF opens, the pages are in order, and the file is not so large it struggles to download.
- Test every link, if your product has any. If you added hyperlinks (for example, tabs in a digital planner), click each one in the exported PDF, not just in Canva. Links that work in the editor and break in the export are a classic trap — our tutorial on adding hyperlinks to a planner PDF is the next step if your product needs them.
- Read every word out loud. Typos survive silent proofreading far more often than read-aloud proofreading. Check dates, spellings, instructions and the footer line.
- Hand it to one real person. Ask someone in your buyer group to print it and use it for one day, and watch where they hesitate. Their hesitation is your fix list.
Fix what the test finds, re-export, and test again. Two test rounds is normal. Shipping the first export untested is how a good design earns a bad review.
7. What to do after the file is finished
A finished file is not yet a finished product — but it is the hard part done. The remaining steps are short:
- Price it from what you keep, not the sticker price. Fees and processing take a share on every platform, so work out your keep per sale before you pick a number. Our guide to how to price digital products walks through fees, psychology and examples.
- Think bundle, not just single. One planner page can become part of a weekly planner pack, and a pack sells for more than the sum of its singles. Our tutorial on how to create a digital product bundle covers bundle pricing and packaging.
- Choose where to sell it based on your traffic. If you have no audience yet, a marketplace with search traffic fits better than a link nobody visits. Our comparison of Etsy vs Gumroad vs Stan Store for beginners works through that choice with fee maths for a $20 sale.
- Write the listing from the buyer's sentence. The one sentence from step 1 — product, buyer, job — is your listing's first line. Add what is included, the format, the size and the print instructions, and you have a listing that answers questions instead of creating them.
Then start the next product the same way: one buyer, one job, one finished, tested file. That rhythm — not one giant pack — is how a small shop builds a catalogue buyers trust.
FAQ
Do I need Canva Pro to create a digital product?
No. A printable PDF product can be made entirely with a free Canva account: basic shapes, your own text and free elements are enough. Pro helps with background removal, brand kits and premium elements, but none of those is required for a first product. Upgrade only when a specific Pro feature saves you real time on a product that is already selling.
Can I sell the Canva template link itself?
Sometimes, but treat this carefully. Selling an editable template link means the buyer gets a copy of your Canva design, and Canva's licence rules limit which Canva content can be resold that way. Check Canva's current terms for template sales before you offer one, use your own original design elements where possible, and test the buyer experience from a fresh account. For most beginners, a finished printable PDF is the safer first product.
What size should a printable digital product be?
Match your buyer: A4 for most buyers outside North America, US Letter for buyers in the US and Canada. If you are unsure, offering both sizes in one download is a small extra step (duplicate the design at the second size, check the margins, export both) and removes a whole category of buyer questions.
How many pages should my first product have?
Fewer than you think. One excellent page, or a 3–5 page set with a cover and instructions, is a complete first product. Buyers pay for a page they will actually use every week, not for page count. Grow the page count only when buyers ask for more, or when you bundle several finished products together.
How do I stop buyers from sharing my file?
You cannot fully prevent sharing of a digital file, and chasing that problem wastes more time than it saves. What you can do: price fairly so buying feels easier than hunting for a shared copy, watermark preview images (not the product itself), include a short licence note on the instructions page ("for personal use"), and keep improving the product so buyers want your latest version. Most honest buyers will pay for a good product from a seller they trust.
The start-to-finish checklist
- One product, one buyer, one job — written in a single sentence
- Correct size and margins set before designing
- Structure first, then fonts (max two or three) and a three-colour palette
- Format decided before export: printable PDF, editable template, or both
- Exported as PDF Print (or full-size PNG for social templates), clearly named
- Printed, phone-tested, link-tested and proofread by reading aloud
- One instructions page included, and one real person has used it
Follow that checklist and the file in your downloads folder is a real product: designed, exported, packaged and tested. That is the whole job of creating in Canva — everything after it is pricing, listing and selling, and each of those has its own guide linked above.