Canva Templates
How to Create a Canva Template Step by Step: Complete Beginner Tutorial
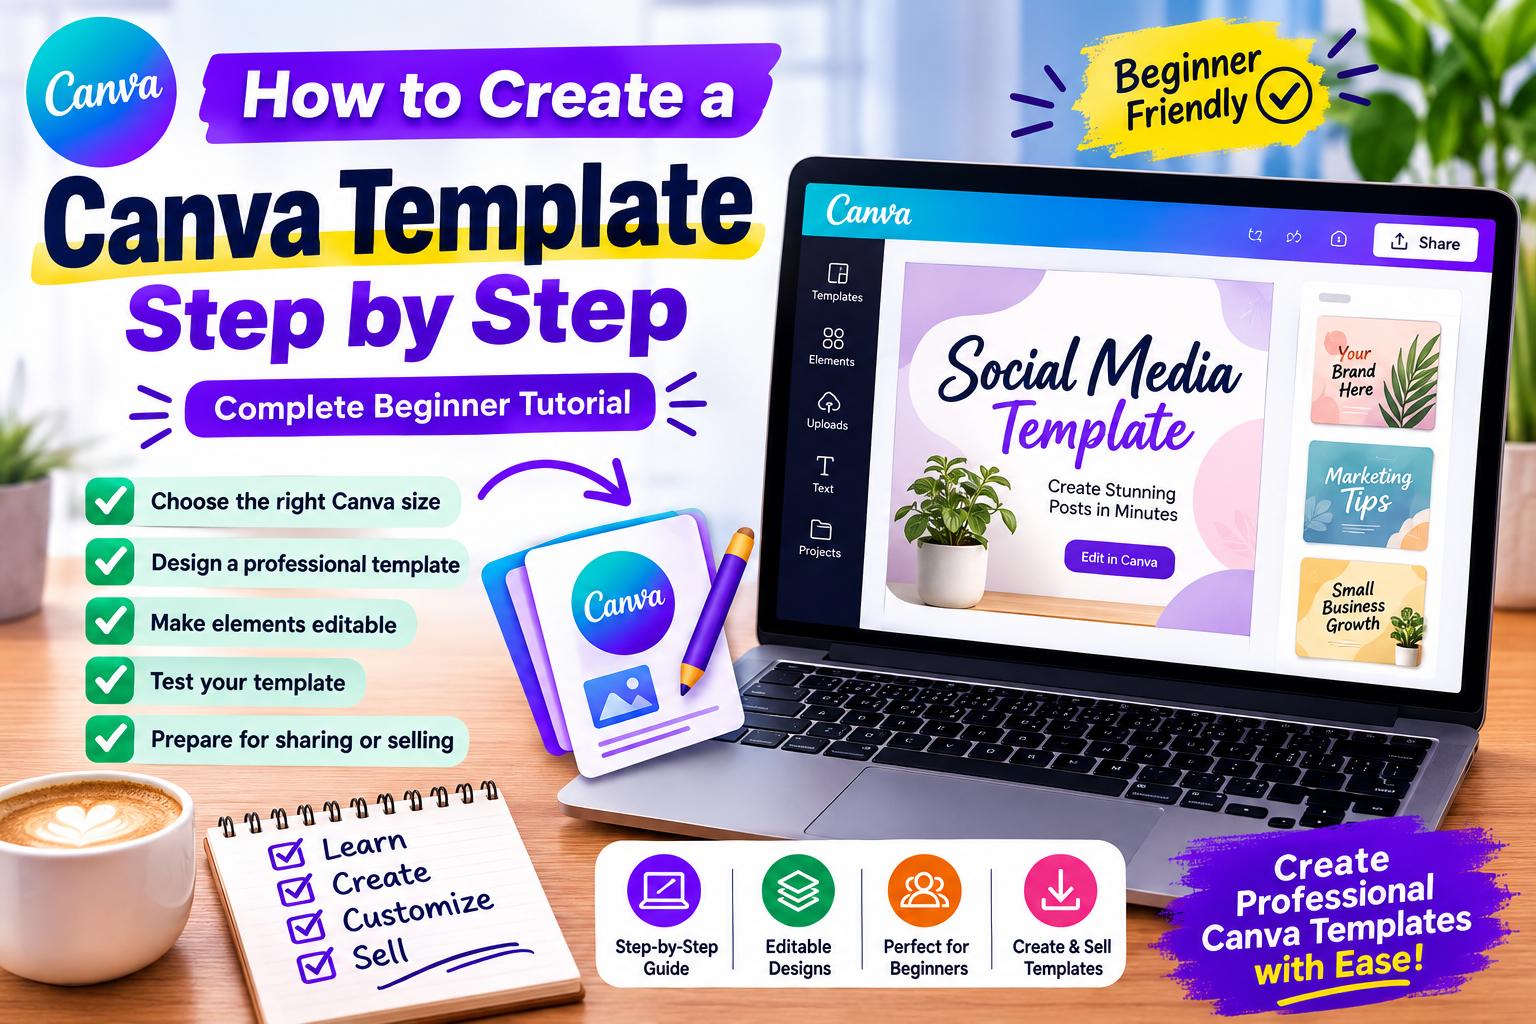
Learn how to create a professional Canva template from scratch with this beginner-friendly step-by-step tutorial. Discover how to choose the right size, design editable layouts, use fonts and colors, organize pages, test your template and prepare it for sharing or selling online.
Creating a Canva template is easier than it may seem, even if you're completely new to Canva. A good template doesn't require complicated graphic design software. With the right dimensions, a simple layout, consistent typography and editable elements, you can create a professional template that other people can customize for their own needs.
In this beginner-friendly tutorial, you'll learn how to create a Canva template step by step. We'll go from choosing the right template size to designing the layout, making the important elements editable, testing the design and preparing the finished template for sharing or selling.
If you're planning to sell Canva templates as digital products, this tutorial can also help you build a repeatable workflow for creating future products.
What Is a Canva Template?
A Canva template is a pre-designed layout that can be customized by the person using it. Instead of starting with a blank canvas, the user opens an existing design and changes the text, images, colors and other editable elements.
Canva templates can be created for many different purposes, including:
- Social media posts
- Instagram stories
- Pinterest pins
- Presentations
- Resumes
- Workbooks
- Planners
- Worksheets
- Business documents
- Marketing materials
- Invitations
- Checklists
The main advantage of a template is convenience. Instead of designing everything from scratch, the user can customize an existing structure and save time.
What You Need Before Creating a Canva Template
You don't need advanced design software to follow this tutorial. You mainly need a Canva account, a clear product idea and an understanding of who the template is intended for.
Before opening Canva, decide three things:
- Who is the template for?
- What problem will it solve?
- What size or format does the customer need?
For example, if you're creating a social media template for coaches, your audience is coaches and your goal might be helping them create professional Instagram content faster.
Step 1: Choose the Right Canva Template Size
The first step is choosing the correct dimensions for your design.
The size depends on what you're creating.
- Instagram posts: commonly 1080 × 1080 pixels
- Instagram portrait posts: commonly 1080 × 1350 pixels
- Instagram stories: commonly 1080 × 1920 pixels
- Pinterest pins: commonly 1000 × 1500 pixels
- Presentation slides: commonly 16:9
- A4 printables: 210 × 297 mm
- US Letter printables: 8.5 × 11 inches
These are common working dimensions rather than universal requirements. Always consider the intended platform or printing method before choosing the final size.
If you're creating a printable product, make sure the document size matches the paper size your customers are likely to use.
Step 2: Start With a Clear Layout
Once you've created your Canva design, don't immediately fill the page with graphics.
Start by deciding where the major elements will go.
For example, a social media template might contain:
- Headline area
- Main image area
- Supporting text
- Call-to-action
- Brand or logo area
A printable worksheet might contain:
- Title
- Instructions
- Activity area
- Writing space
- Footer
Planning the layout before adding decorative elements helps keep the design organized and easier to edit.
Step 3: Choose a Consistent Color Palette
One of the easiest ways to make a template look professional is to use a consistent color palette.
Try selecting two or three primary colors and a few supporting neutral colors.
For example:
- Primary color
- Secondary color
- Accent color
- Dark text color
- Light background color
Avoid using too many unrelated colors. A consistent palette makes it easier for customers to customize the template while maintaining a professional appearance.
Step 4: Select Easy-to-Read Fonts
Typography is another important part of template design.
Choose fonts that are easy to read and work well at the intended size.
A simple combination can include:
- One font for headings
- One font for body text
- Optional accent font for small decorative elements
Don't use several decorative fonts simply because they look interesting. Too many fonts can make a template feel inconsistent and difficult to customize.
For business templates, clean and readable typography is usually a safer choice.
Step 5: Create the Main Template Structure
Now it's time to build the actual design.
Start with the major elements and work from large areas toward smaller details.
- Add the main background.
- Create the heading area.
- Add the primary content section.
- Add supporting text.
- Add images or graphic areas.
- Add buttons or calls-to-action where appropriate.
- Add small decorative elements last.
This approach makes the design easier to manage because you're establishing the structure before focusing on decoration.
Step 6: Make the Template Easy to Edit
If you're creating a template for other people, usability is extremely important.
Customers should be able to understand what they can change without having to redesign the entire page.
Consider making these elements easy to customize:
- Headings
- Body text
- Images
- Colors
- Logos
- Contact information
- Calls-to-action
- Names and dates
Keep important editable elements clearly separated and avoid creating unnecessarily complicated layouts.
Step 7: Use Placeholder Content Carefully
If you're selling a template, the customer needs to understand which parts they should replace.
Instead of filling every area with meaningless text such as Lorem ipsum, use realistic placeholder content.
For example:
Replace with your headline
Add your business description here
Your website URL
Useful placeholder text makes the template easier to understand and gives customers an idea of how the finished design should look.
Step 8: Create Multiple Pages or Variations
If you're creating a template bundle, don't simply duplicate the same page dozens of times.
Create meaningful variations.
For example, a social media bundle could include:
- Quote template
- Tip template
- Educational post
- Testimonial post
- Product promotion
- Announcement
- Question post
- Call-to-action post
Variations make the product more useful because customers can choose the layout that best fits their content.
Step 9: Keep Your Template Organized
Organization becomes especially important when a Canva project contains many pages.
Use a consistent naming and page structure where possible.
For example:
- Cover
- Instructions
- Template 01
- Template 02
- Template 03
- Template 04
- Bonus templates
If you're creating a product bundle, consider grouping similar designs together so customers can find what they need quickly.
Step 10: Test the Template Before Sharing It
Never publish a template immediately after finishing the design.
Test it first.
Imagine that you're the customer and try to customize the template yourself.
Check:
- Can the text be edited?
- Can images be replaced?
- Are important elements easy to find?
- Does changing the text break the layout?
- Are fonts readable?
- Are there spelling mistakes?
- Are all pages complete?
- Are links working?
- Does the design still look good after customization?
This testing stage can prevent many customer complaints later.
Step 11: Create an Instruction Page
If you're going to sell or distribute your template, create a simple instruction page for the customer.
Your instruction page can explain:
- How to access the template
- How to make a copy or use the provided template
- How to edit text
- How to replace images
- How to change colors
- How to download the finished design
Keep the instructions simple. The customer should be able to understand them even if they have never used Canva before.
Step 12: Create a Canva Template Link
If you're distributing a Canva template, use the sharing option available in your Canva account for creating a template that customers can use or customize.
The exact interface and available sharing options can change, so always check the current options displayed in your Canva account before publishing your product.
Before giving the link to customers, test it using an account or browser session that does not already have the original design open.
The goal is to make sure that the customer receives access to the intended template rather than accidentally editing your original working file.
Step 13: Check Canva Licensing Before Selling
This step is extremely important if you intend to sell your template.
Not every piece of content available in Canva can simply be extracted or redistributed as a standalone asset. Canva's current policies distinguish between different types of content and include specific restrictions for Pro content, branded content and other licensed material. :contentReference[oaicite:0]{index=0}
For example, Canva's Content License Agreement explains that Pro Content is licensed for use within a Canva Design and cannot be copied, downloaded or distributed as a standalone item. It also contains restrictions around redistributing content in ways that allow the underlying content to be extracted or reused. :contentReference[oaicite:1]{index=1}
Before selling a template, review the current Canva license terms that apply to the content you're using.
Be particularly careful with:
- Pro graphics
- Stock photos
- Branded content
- Third-party illustrations
- Copyrighted characters
- Logos and trademarks
- Content you did not create yourself
If you're building commercial templates, use original elements or content whose license clearly permits your intended use, and check Canva's current policies before publishing.
Step 14: Prepare Your Template for Sale
Once your template has been tested, prepare the customer delivery package.
A simple package can contain:
- PDF instruction file
- Canva template access information
- Usage instructions
- Basic license or usage notes
- Customer support information
Make sure the customer can understand what they purchased without needing to contact you for basic instructions.
Step 15: Create Professional Preview Images
Before publishing the template, create attractive preview images.
Your preview should communicate the value of the product within a few seconds.
Consider showing:
- The main template
- Several different pages
- Different layout variations
- Editable sections
- What is included
- How the template works
A good preview should show the actual product rather than relying only on decorative mockups.
Step 16: Create a Strong Product Title
If you're selling your Canva template, make the product title descriptive.
For example, instead of:
Modern Canva Bundle
Use something more specific:
Canva Instagram Templates for Coaches | 30 Editable Social Media Posts
The second title tells potential customers what they're getting and who the product is designed for.
Step 17: Link Your Tutorial to Your Related Content
A tutorial becomes even more useful when it connects visitors to related resources.
For example, after learning how to create a Canva template, a visitor may want to learn how to sell it.
You can naturally connect this tutorial with your related DigiDown content about selling Canva templates online.
You can also link visitors toward relevant free resources and paid products.
A simple content path can be:
Tutorial → Free Template → Related Blog → Paid Template Bundle
This helps visitors discover more useful content instead of reaching a dead end after reading one article.
Common Canva Template Mistakes to Avoid
Using Too Many Fonts
Too many fonts can make a template look inconsistent and difficult to customize. Keep your typography simple.
Overloading the Design
Adding too many decorative elements can make the template harder to use. Leave enough space for the customer's content.
Ignoring Mobile Users
If you're creating social media templates, consider how the final design will look on a phone screen.
Forgetting to Test the Template
Always test the template before giving it to customers.
Using Content Without Checking Rights
Don't assume that content available in a design tool can automatically be redistributed in every format. Review the applicable license before selling.
Making the Template Difficult to Edit
A template should save the customer time. If editing it feels harder than creating a new design, the product needs improvement.
How to Make Better Canva Templates
As you create more templates, focus on improving three things:
Usability
Customers should know what to edit and how to customize the design.
Consistency
Templates in the same product should look like they belong together.
Specificity
Design products for a clearly defined audience instead of trying to make one template work for everyone.
A template designed specifically for a particular profession or use case can be much easier to explain and market than a completely generic template.
Final Checklist Before Publishing
Before publishing your Canva template, go through this checklist:
- ✓ Correct dimensions selected
- ✓ Typography is readable
- ✓ Colors are consistent
- ✓ Text has been proofread
- ✓ Editable elements work correctly
- ✓ Images can be replaced where intended
- ✓ All pages are complete
- ✓ Template has been tested
- ✓ Customer instructions are ready
- ✓ Template access has been tested
- ✓ Preview images are ready
- ✓ Licensing has been checked
- ✓ Product description is complete
Conclusion
Creating a Canva template doesn't have to be complicated. The most important thing is to start with a clear purpose and a specific audience.
Choose the right dimensions, create a clean structure, use consistent fonts and colors, make important elements easy to customize and test the finished design before sharing it.
If you're creating templates as digital products, don't stop at the design itself. Prepare clear instructions, professional preview images and a simple customer delivery process.
Most importantly, check the current Canva licensing requirements before selling your templates, especially when your designs contain Canva library content or third-party assets.
Once you understand the workflow, you can create multiple related templates for the same audience and gradually build a complete digital product collection.
Start with one useful template, make it genuinely easy to use, and improve your process with every product you create.