Tutorial
How to Sell Digital Products on Gumroad (Step-by-Step Setup for Beginners)
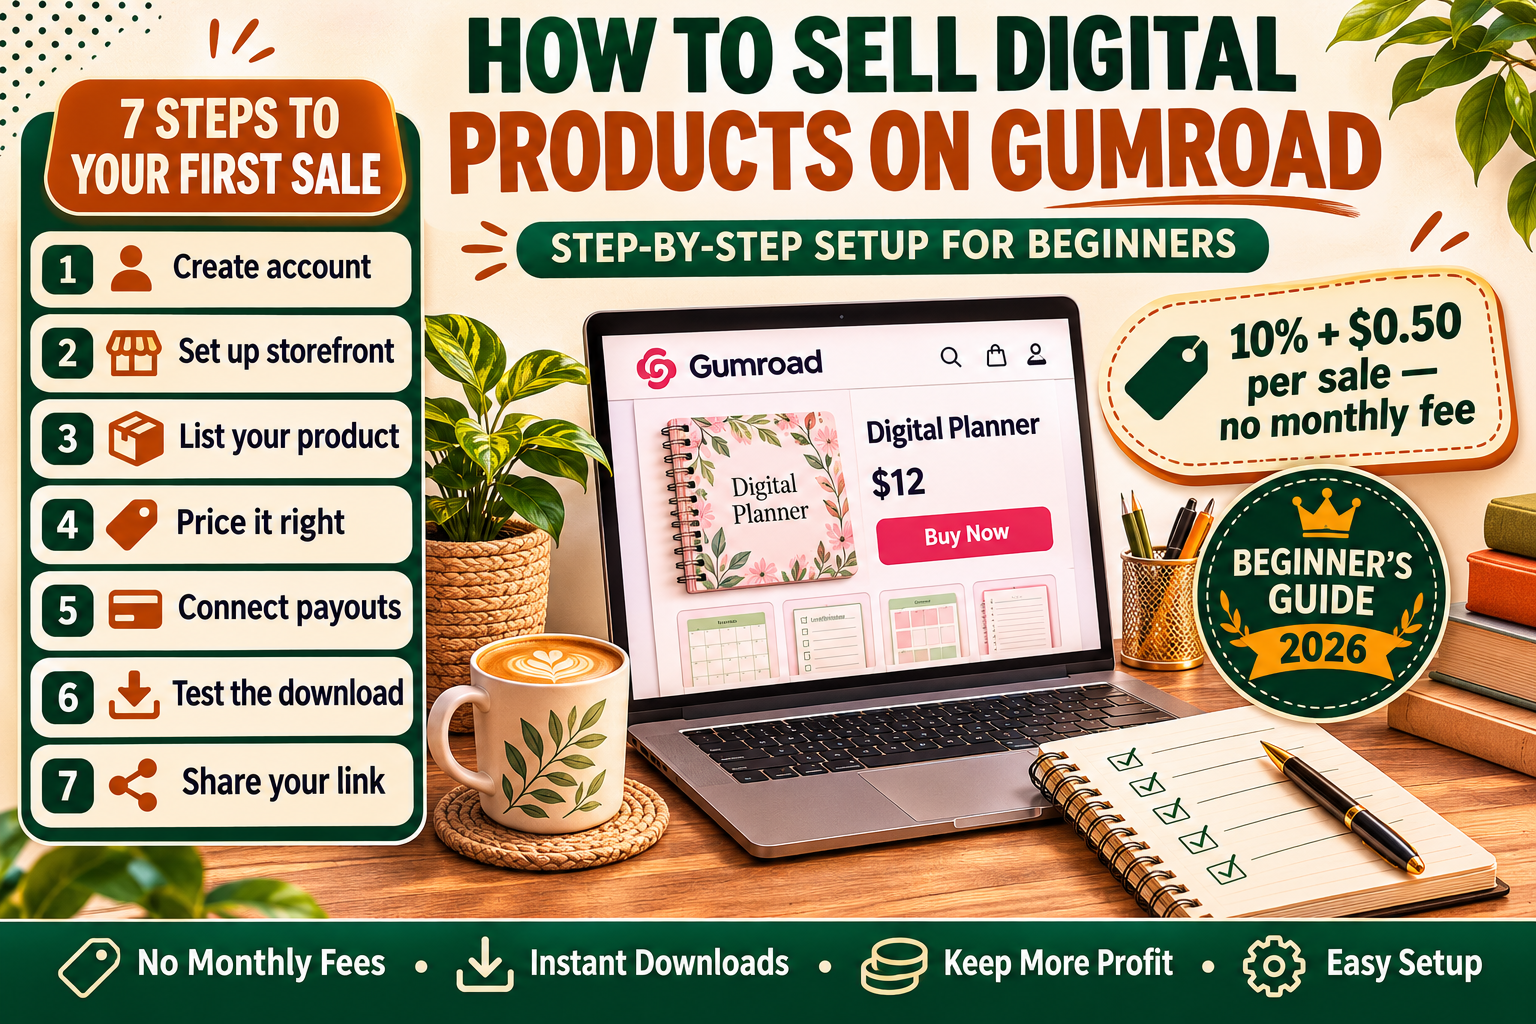
Learn how to sell digital products on Gumroad step by step: create your account, set up your storefront, list your first product, price it, set payouts, and make your first sale — no monthly fees.
Gumroad is one of the simplest places for a beginner to start selling digital products. There is no monthly fee, no listing fee, and no website to build — you create an account, upload your file, set a price, and share your link. That simplicity is exactly why so many first-time sellers start here: you can go from a finished Canva template, planner, or worksheet to a live product page in a single afternoon.
This tutorial walks you through the whole setup, step by step: creating your account, setting up your storefront, listing your first product, pricing it, connecting payouts, and getting your first sale. It also covers the mistakes that cost new sellers money, so you can skip them.
If you are still deciding between platforms, read our comparison first: Etsy vs Gumroad vs Stan Store: Where Should a Beginner Sell? If you already have a product ready, start with Step 1 below.
What You Need Before You Start
You do not need a website, a business registration, or any money upfront to open a Gumroad account. You do need four things ready before you list anything:
- A finished digital product — a PDF, a Canva template link, a spreadsheet, a zip file of printables, or any file a buyer can download. If your product is not finished yet, follow How to Create a Digital Product in Canva, Start to Finish first.
- A product name and a one-paragraph description — what it is, who it is for, and what the buyer gets.
- At least one preview image — a mockup or a screenshot of the product. Listings without a preview image sell far worse than listings with one.
- A payout method — a bank account or PayPal, depending on your country. You can set this up after listing, but you cannot get paid without it.
Step 1: Create Your Gumroad Account
- Go to gumroad.com and click Start selling.
- Sign up with your email address and choose a password, or continue with a Google account.
- Pick your creator name — this becomes part of your store URL (gumroad.com/yourname), so choose the name you want customers to see. Your shop name and your display name can be different later, but the URL slug is harder to change, so pick carefully.
- Confirm your email address. Your account is now live, and you can start adding products right away.
Tip: Use the same creator name across your social profiles and your shop. A buyer who finds you on Pinterest or Instagram should be able to find your Gumroad page without guessing.
Step 2: Set Up Your Storefront and Profile
Before you list a product, spend ten minutes on your profile — it is the first thing a buyer sees after clicking your link.
- Profile picture and cover image: Use a clean logo or a photo that matches your brand. A blank default avatar makes a shop look unfinished.
- Bio: Write two or three sentences about what you sell and who it is for. Example: "Printable planners and Canva templates for busy teachers — instant download, ready to print."
- Storefront sections: Gumroad lets you feature products on your profile page. Once you have more than one product, pin your bestseller at the top.
- Social links: Add your Pinterest, Instagram, or website so buyers can find more of your work.
Your storefront is your shop window. A buyer who lands on a bare profile with no bio is far less likely to trust a purchase than one who lands on a profile that clearly says what you sell.
Step 3: Create Your First Product Listing
From your Gumroad dashboard, click New product and choose the product type. For most beginners this is a Digital product — a file the buyer downloads instantly after paying.
- Upload your file. Upload the actual file the buyer receives: a PDF, a zip, or a spreadsheet. Keep the file under Gumroad's size limit, and test the download yourself after publishing. A broken or wrong file is the fastest way to get a refund request.
- Write the title. Be specific: "Weekly Meal Planner Printable (PDF, A4 + US Letter)" beats "Meal Planner". Put the product type and format in the title — buyers search for those words.
- Write the description. Say exactly what is included, what format the files are in, and how the buyer uses them. List the number of pages, the paper sizes, and whether the file is editable. End with a short line about instant download and what to do if they have a problem.
- Add a cover image. Upload a mockup or a clean preview of the product. This image is your listing's first impression — it shows in search results, on your profile, and when the link is shared on social media.
- Add preview images or a preview file. Show 2–4 pages or screenshots inside the product. Buyers of digital products cannot hold the item before buying, so previews do the job of a shop display.
Step 4: Price Your Product
Gumroad charges a flat fee on each sale — 10% plus $0.50 per transaction — and there is no monthly fee or listing fee. That means you keep most of every sale, but you still need to price with the fee in mind.
| Your price | Gumroad fee (10% + $0.50) | You keep |
|---|---|---|
| $5 | $1.00 | $4.00 |
| $9 | $1.40 | $7.60 |
| $15 | $2.00 | $13.00 |
| $25 | $3.00 | $22.00 |
| $39 | $4.40 | $34.60 |
Fees can change, so check Gumroad's current pricing page before you set a price you depend on. For a full walkthrough of pricing — including how to think about value, bundles, and discounts — read How to Price Digital Products: Fees, Psychology & Examples.
Practical pricing rules for a first product:
- Do not price at $1 or $2. After the fee, you keep almost nothing, and a very low price signals low quality to buyers.
- Start in the $7–$19 range for a single template, planner, or worksheet pack. It is low enough for an impulse buy and high enough to be worth your time.
- Offer a "pay what you want" option on one product if you want to grow an email list — set a low minimum price and let generous buyers pay more.
- Test one price at a time. Change the price, wait for a reasonable number of visitors, then judge the result. Changing price and cover image on the same day tells you nothing.
Step 5: Set Up Payouts
You will not receive money until payouts are connected, so do this before you start promoting your link.
- In your Gumroad settings, open Payouts.
- Choose your payout method — bank transfer or PayPal, depending on what Gumroad supports in your country.
- Enter your details exactly as your bank or PayPal account shows them. A single wrong digit delays your payout.
- Check the payout schedule: Gumroad pays out on a regular schedule after a sale, not instantly. Factor that delay into your plans.
One common beginner mistake is promoting a product for a week and then discovering payouts were never set up. Connect payouts on day one.
Step 6: Publish and Test Your Listing
Before you share the link anywhere, buy-test your own listing (or ask a friend to):
- Open the product page on your phone as well as your computer — most buyers shop on mobile.
- Check that the title, price, and description read correctly and that the cover image loads.
- Download the file from the test purchase and open it. Confirm it is the right file, the right version, and that every page renders properly.
- Check the receipt email a buyer gets — it should contain the download link and clear instructions.
Only share the link publicly after this test. Fixing a broken file after ten people have bought it is far harder than catching it before the first share.
Step 7: Share Your Link and Make Your First Sale
Gumroad has a Discover feature that can surface your product to its own visitors, but for a new shop almost all traffic comes from links you share yourself. Gumroad does not bring you buyers — you bring them.
- Put the link in your bio on Pinterest, Instagram, and TikTok, and in your email signature.
- Pin the product on Pinterest with a vertical pin that shows the product and its benefit — Pinterest is one of the strongest free traffic sources for digital products.
- Show the product in use: a short video flipping through a planner or editing a template sells better than a static screenshot.
- Offer a freebie first: a free one-page sample that links to the paid product builds trust and an email list at the same time.
- Ask early buyers for a review. A product page with even two or three honest reviews converts far better than one with none.
How to Deliver the File After a Sale
When a buyer pays, Gumroad sends them a download link automatically — you do not have to email the file yourself. If a buyer loses the link, you can resend it from your dashboard. For the full delivery workflow, including what to do when a buyer uses Etsy as well, see How to Deliver a Digital Download on Gumroad & Etsy.
Keep your product file updated: if you fix a typo or add pages, upload the new version in the product settings. Existing buyers can usually re-download the updated file, which is a good reason to tell your list when a product improves.
Common Beginner Mistakes on Gumroad
- No preview images. A listing with only a title and a price looks unfinished. Always show what the buyer gets.
- A vague description. "A great planner for everyone" tells a buyer nothing. Say the page count, the sizes, the format, and who it is for.
- Forgetting payouts. Set them up before promoting, not after your first sale.
- Uploading the wrong file. Always test-download after publishing.
- Waiting for Gumroad to bring traffic. Discover helps, but your first sales will come from your own links — Pinterest, social media, and your email list.
- Pricing too low. After Gumroad's fee, a $2 product earns you about $1.30. Price for the value, not for the fear of charging.
Quick-Start Checklist
- Account created and email confirmed
- Profile finished: picture, bio, social links
- Product file uploaded and test-downloaded
- Title, description, cover image, and previews added
- Price set with the 10% + $0.50 fee in mind
- Payouts connected
- Listing tested on phone and computer
- Link shared in at least two places (bio + one pin or post)
FAQ
Is Gumroad free to use?
Yes. There is no monthly fee and no listing fee. Gumroad takes a flat 10% + $0.50 from each sale, so you only pay when you sell. Check Gumroad's pricing page for the current fee, as it can change.
Do I need a website to sell on Gumroad?
No. Your Gumroad profile page works as your storefront, and each product gets its own shareable link. A website helps later, but it is not required to make your first sale.
How do buyers get the file?
Automatically. After payment, Gumroad emails the buyer a download link and shows it on the confirmation page. You do not email files manually.
Can I sell on Gumroad and Etsy at the same time?
Yes. Many sellers list the same product on both — Etsy brings marketplace traffic, Gumroad keeps more of each sale and gives you a direct link to share. Just keep the files and prices consistent, and update both listings when the product changes.
When do I get paid?
On Gumroad's regular payout schedule after a sale, to the bank account or PayPal you connected in settings. Payouts are not instant, so connect your payout method before you start promoting.
The Bottom Line
Selling on Gumroad is a setup job you can finish in one afternoon: account, profile, one good listing, a sensible price, and connected payouts. The platform handles payments, delivery, and the storefront — your job is the product and the traffic. Publish your first product, test the download yourself, share the link in two places, and then improve the listing based on real visitors instead of guessing. Your first sale usually comes from a link you shared, not from waiting — so share it.