Blog
Digital Product Launch Checklist: From Idea to First Sale in 14 Days
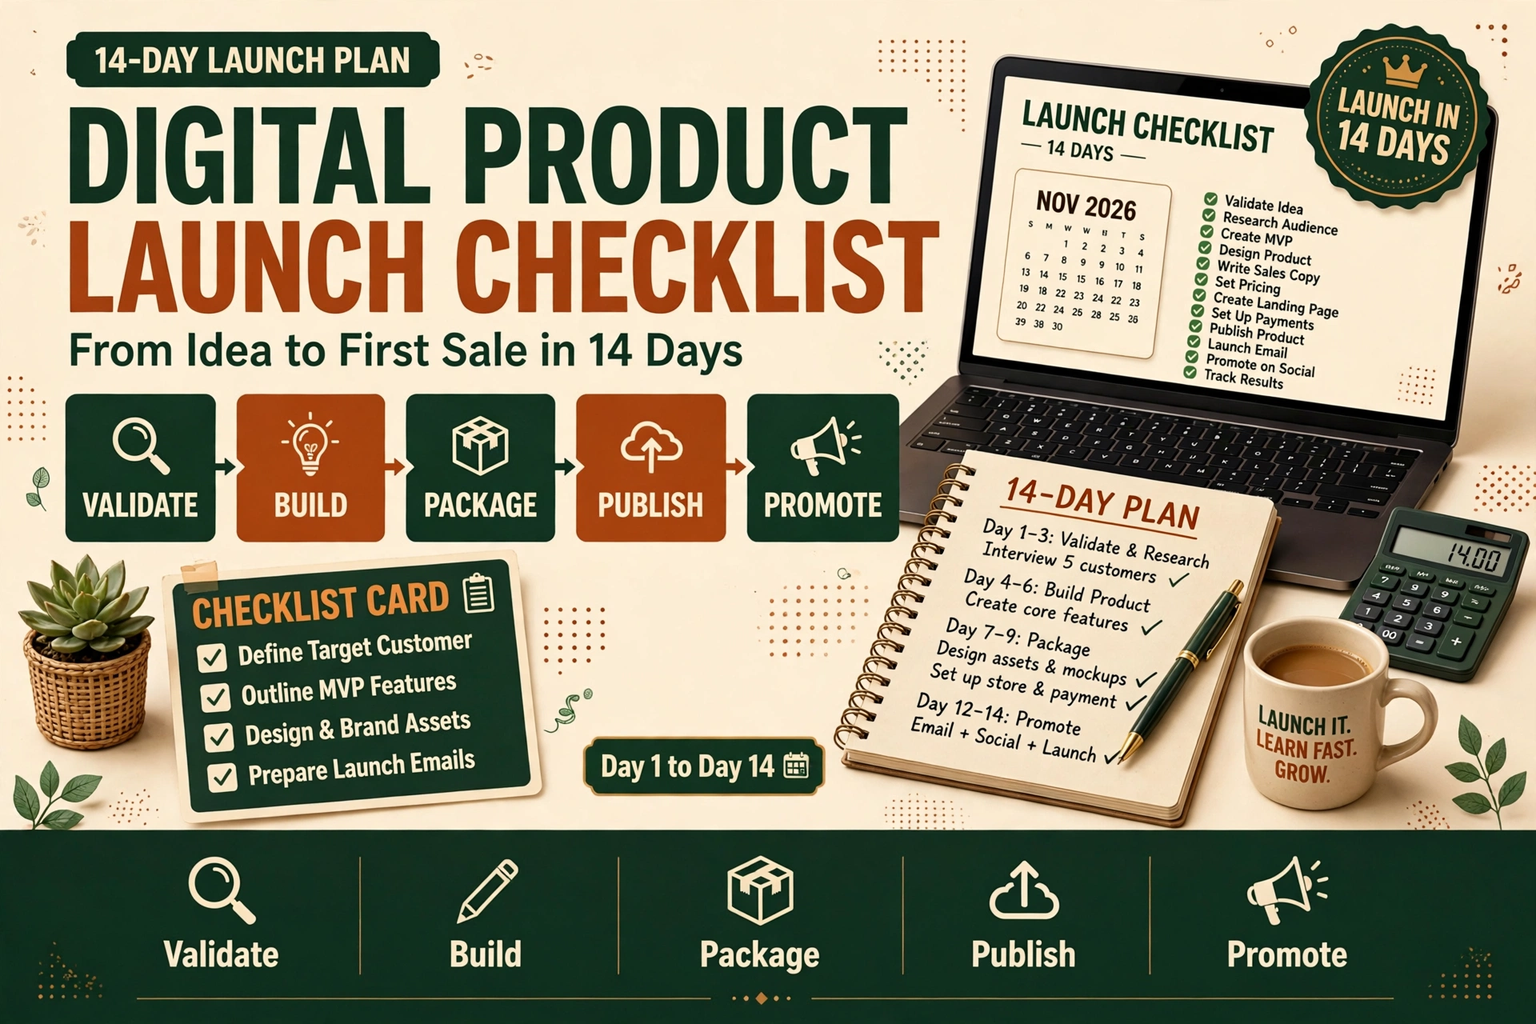
Launch your first digital product in 14 days with this step-by-step checklist — validate the idea, build it in Canva, price it right, list it on Etsy or Gumroad, and make your first sale.
Why Most Digital Products Never Launch
Most beginner sellers do not fail because their product is bad. They fail because they never finish it. The idea sits in a notebook, the Canva file stays half-designed, and the listing is "almost ready" for months. A launch does not need to be perfect — it needs a deadline and a short list of steps done in order.
This checklist breaks a first launch into 14 days. Each day has one clear job, and most jobs take one to two hours. By Day 14, your product is live and you have a real plan to get your first sale. If you already have a product idea, start at Day 1 today. If you do not, Day 1 and Day 2 will help you pick one.
The 14-Day Launch at a Glance
| Days | Phase | What you finish |
|---|---|---|
| 1–2 | Validate | A proven idea with real buyers |
| 3–5 | Build | The finished product files |
| 6–8 | Package | Mockups, pricing and listing copy |
| 9–11 | Publish | A live listing on your chosen platform |
| 12–14 | Promote | Your first traffic and first sale push |
Days 1–2: Validate the Idea Before You Build Anything
Building first and asking buyers later is the most expensive beginner mistake. Spend two days proving that people already pay for what you want to make.
Day 1: Pick one specific buyer
"Busy people who like planners" is not a buyer. "New teachers who need ready-made classroom worksheets" is. Write down exactly who your product is for, what problem it solves, and what result they get in one sentence. If you cannot finish that sentence, the idea is too vague — narrow it until you can.
Need ideas? Start with proven demand: our guide to the best-selling digital products on Etsy in 2027 shows which categories buyers already search for, and our 15 digital product ideas for teachers and educators is a ready shortlist if you sell to educators.
Day 2: Check the demand with real evidence
Search your idea on Etsy and Gumroad. If similar products exist with hundreds of sales and recent reviews, that is good news — it means buyers exist. If nothing similar exists at all, be cautious: it may mean there is no demand. Also check what the top sellers charge, what they include, and what buyers complain about in reviews. Your product should fill one gap the top sellers leave open, such as a missing size, a simpler version, or a lower price for beginners.
Checkpoint: you can name your buyer, your product type, and three competing products with real sales. If not, repeat Day 2 before moving on.
Days 3–5: Build the Product
Now build — but keep the scope small. A first product should be useful and complete, not huge. Ten excellent planner pages beat fifty rushed ones, and a 12-page worksheet pack that is finished beats a 60-page course that never ships.
Day 3: Outline and set up your files
List every page, section, or file your product will contain, then set up the document at the right size (A4 or US Letter for printables, 8.5 × 11 in for planners). Decide your fonts and colours now so every page matches. This one hour of planning saves many hours of fixing later.
Days 4–5: Design it in Canva
Build the product page by page in Canva, keeping margins, spacing, and headings consistent. Test every link, checkbox, and fillable field as you go — a broken hyperlink in a planner is the most common refund trigger. Our step-by-step tutorial on how to create a digital product in Canva, start to finish walks through the whole process if this is your first build.
Export your files in the format buyers expect: PDF for printables and planners, plus editable Canva links only if you clearly say so in the listing. Name the files clearly (for example, "budget-planner-printable-a4.pdf") so buyers can find what they downloaded.
Checkpoint: the finished files open cleanly on a phone and on a computer, every link works, and a friend could use the product without asking you anything.
Days 6–8: Package It Like a Product, Not a File
Buyers do not buy a PDF. They buy the result on the listing page. These three days turn your files into something that looks worth paying for.
Day 6: Create mockups that show the product in use
Your listing images are your shop window. Show the product on a desk, on a tablet, and printed out — not just a flat screenshot. Good mockups answer the buyer's first question: "What will this look like when I use it?" Follow our free guide to creating mockups for Etsy listings in Canva to make professional-looking images without paid software.
Day 7: Price it with a method, not a guess
Check what comparable products charge, then price yours in the same range for a first launch — usually $5–$15 for a small printable or template, $15–$35 for a bundle. Underpricing hurts you twice: you earn less per sale and buyers assume the product is low quality. For the full method, including fees and pricing psychology, read how to price digital products before you set your number.
Day 8: Write the listing copy
Write a clear title with the words buyers actually search for, then a description that covers: what is included, what format and size it is, how the buyer receives it, and what they need to use it (a printer, a PDF reader, a free Canva account). End with a short FAQ inside the listing answering the two questions every buyer asks: "Is this a physical item?" (No — instant download) and "Can I get a refund?" (state your policy plainly).
Checkpoint: you have at least 5 listing images, a price you can justify, and listing copy a stranger could understand in 30 seconds.
Days 9–11: Publish on the Right Platform
Day 9: Choose where to sell
Etsy gives you built-in buyers but charges listing and transaction fees; Gumroad is simple and cheap to start but you bring your own traffic; Stan Store suits sellers who already have a social following. If you are still deciding, our comparison of Etsy vs Gumroad vs Stan Store breaks down fees, traffic, and which platform fits a beginner. For a first launch, pick one platform and launch there — you can expand later.
Day 10: Set up the shop and upload
Create the shop, add your shop banner and profile, upload the product files, set the price, and add all 13 Etsy tags (or the equivalent keywords on Gumroad) using the exact phrases buyers search for. Double-check the download works by buying or previewing it yourself before anyone else can.
Day 11: Publish and test the full buyer journey
Publish the listing, then open it as a buyer would: click the images, read the description on a phone, and download the files. Fix anything confusing now, while your audience is still zero. A listing that is live but untested is not finished.
Checkpoint: the listing is public, the download works, and the price, images, and description all match each other.
Days 12–14: Get Your First Sale
Publishing is not launching. Nobody will find a brand-new listing on its own, so the last three days are about putting it in front of real people.
Day 12: Tell the people who already know you
Share the launch with your own audience first — friends, followers, an email list, a Facebook group, or a Pinterest board. Offer the first 10 buyers a launch discount or a small bonus in exchange for an honest review. Early reviews matter more than early profit: they are what convince the next buyer.
Day 13: Post where buyers search
Create 3–5 Pinterest pins from your mockups, each linking to the listing, and post one short video or carousel showing the product in use on Instagram or TikTok. Use the same keywords from your listing title in your pin descriptions so search can find them over time.
Day 14: Review, fix, and keep going
Check your listing stats: views, favourites, and clicks. If people view but do not buy, the price or the images are the problem — adjust one thing at a time. If nobody views at all, the title and tags need better keywords. Then set your next goal: your second product, or a small bundle of your first one. One launch teaches you more than a month of planning the next one.
Checkpoint: you have made your first sale, or you know exactly which number — views, favourites, or conversions — needs fixing next.
Launch-Day Checklist (Print This)
- Idea validated: real buyers, real competitors, one clear buyer in mind
- Product built and tested: files open, links work, formats are correct
- At least 5 mockup images showing the product in use
- Price set using competitor research, not a guess
- Listing title, description, tags, and FAQ all written
- Download tested end-to-end as a buyer
- Launch announced to your own audience with a review incentive
- Pinterest pins and one short video published
- Stats checked on Day 14, with one fix planned
Common Launch Mistakes to Avoid
- Waiting for perfect: a good product launched today beats a perfect product launched never. You can update digital files after launch.
- Skipping validation: building something nobody searched for is the slowest way to earn $0.
- Launching silently: a listing with no announcement, no pins, and no shares is a product nobody knows exists.
- Pricing from fear: charging $2 for 20 hours of work does not attract buyers — it attracts doubt.
- Ignoring the first reviews: early buyer feedback is free product research. Read it, thank them, and fix what they flag.
Frequently Asked Questions
Can I really launch in 14 days with a full-time job?
Yes — the plan is built around one to two focused hours a day. The biggest time-saver is keeping the first product small. A 10-page planner or a 12-page worksheet pack is a complete product; it does not need to be a 100-page mega bundle.
Which platform should I launch on first?
Most beginners should start on Etsy for its built-in search traffic, or Gumroad if they already have an audience and want the simplest setup. Pick one, launch there, and add a second platform only after the first sale. See our Etsy vs Gumroad vs Stan Store comparison for the full breakdown.
What if nobody buys in the first week?
That is normal for a first listing. Check the numbers in order: no views means a title and tags problem; views but no sales means a price or images problem. Fix one thing, wait a few days, and measure again. Most first sales come after the listing has been shared and pinned, not on launch day itself.
Do I need a big audience to make my first sale?
No. Etsy buyers search the marketplace itself, and Pinterest pins keep working for months after you post them. An audience helps, but a well-titled listing on a marketplace with good mockups can sell with zero followers.
Can I update my product after launching?
Yes — that is one of the best parts of selling digital products. Fix mistakes, add pages, and improve the mockups any time. Existing buyers on most platforms can re-download the updated files, so improving your product also improves its reviews.
Your Turn: Start Day 1 Today
You do not need more courses, more tools, or a bigger idea. You need 14 days and a checklist. Pick your buyer today, validate the idea tomorrow, and by this time in two weeks your first product can be live and selling. If you want a ready-made product idea to start with, browse the best-selling digital products on Etsy and pick the category that fits your skills — then follow this checklist one day at a time.