Tutorial
How to Make a Template in Canva (Beginner, Step-by-Step)
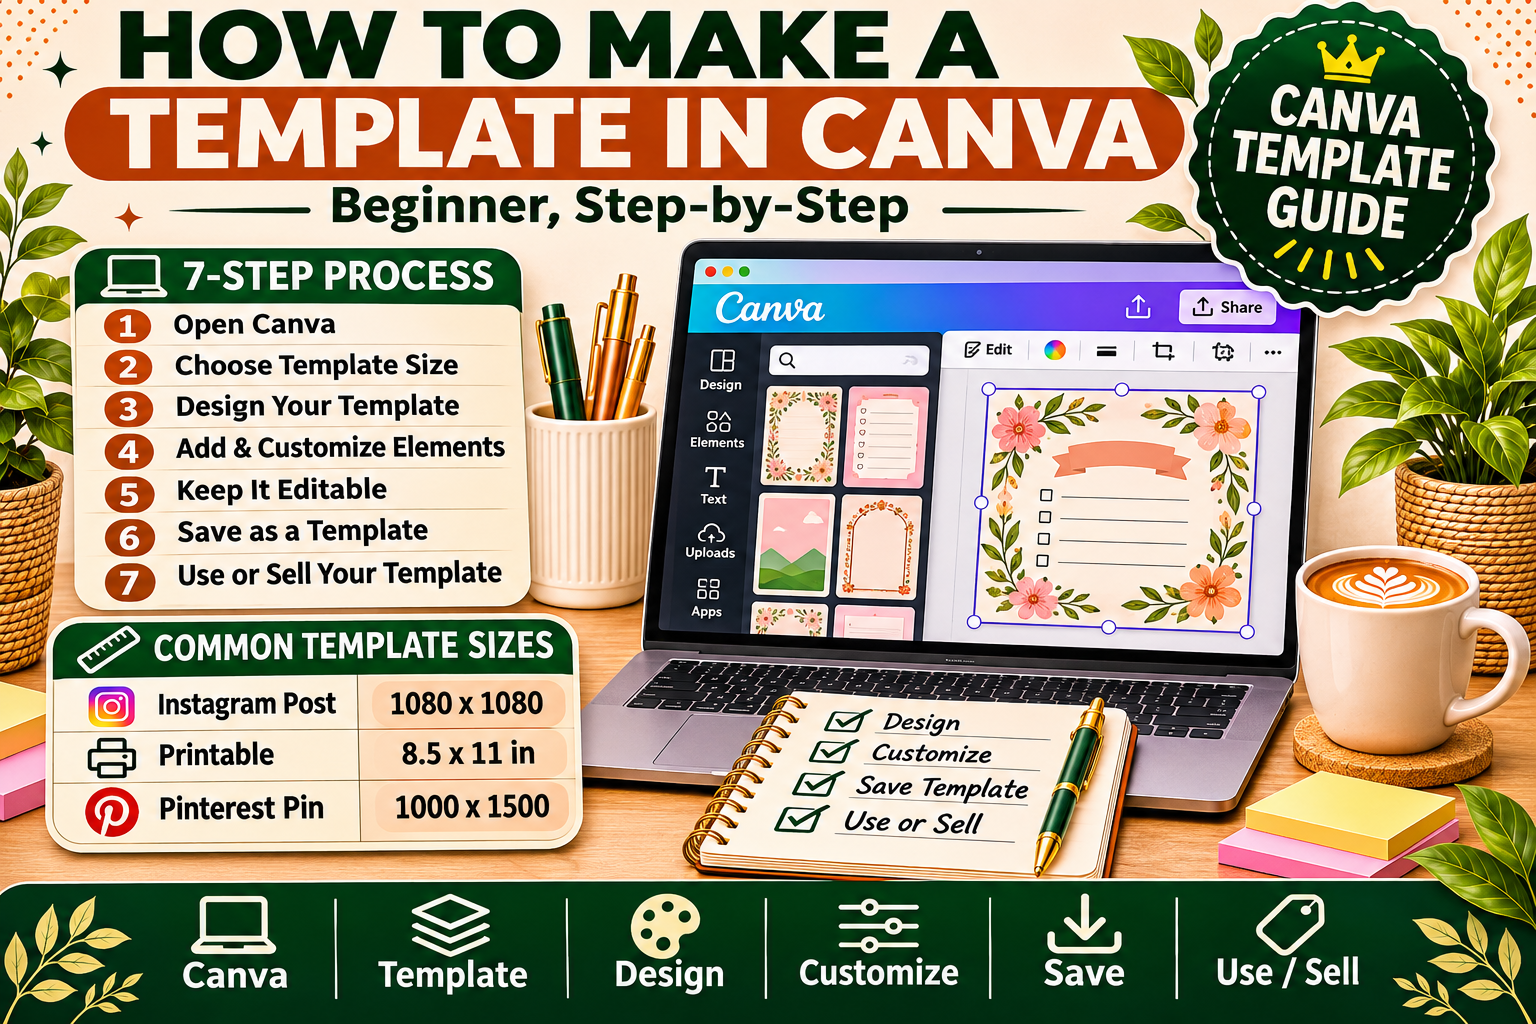
Learn how to make a template in Canva from scratch — pick a size, build the layout, add editable text, and share it as a template link your buyers can use. Beginner-friendly, and free Canva is enough.
A template is a design someone else can open, edit, and reuse without starting from a blank page. That is the whole product: you do the design work once, and every buyer gets their own editable copy.
Canva is the easiest place to make your first template, because your buyers already know it. Most of them have a free Canva account, and a Canva template link lets them open your design, change the text and colours, and download their version — without ever touching your original file.
This tutorial covers the complete beginner process: picking a template type and size, building a clean layout, making the text properly editable, testing it the way a buyer would, and sharing it as a template link. You only need a free Canva account. No design experience required.
If you want the full project walkthrough of building one complete template (a planner page, start to finish), read our companion tutorial How to Create a Canva Template, Step by Step after this one. This tutorial is the basics: the rules and the sharing method that every Canva template needs.
What You Need Before You Start
- A free Canva account. Everything in this tutorial works on the free plan. Canva Pro adds a brand kit and a background remover, but neither is required for your first template.
- One clear template idea. A template solves one job: a weekly planner page, an Instagram post set, a resume, a worksheet, a price list. Pick one job, not five.
- A rough sketch. Draw the layout on paper first — where the title goes, where the text blocks sit, where the images go. Ten minutes of sketching saves an hour of dragging boxes around in Canva.
- Your fonts and colours decided in advance. Two fonts maximum (one for headings, one for body text) and three to four colours. Templates that use six fonts and ten colours look messy and are hard for buyers to edit.
Step 1: Pick Your Template Type and Size
Every template starts with a size, and the size depends on what the template is for. Picking the wrong size is the most common beginner mistake — a template designed at the wrong dimensions prints badly or crops strangely on social media.
| Template type | Best size | Used for |
|---|---|---|
| Printable planner / worksheet | US Letter 8.5 × 11 in (2550 × 3300 px) or A4 | Print-at-home planners, checklists, trackers |
| Instagram post | 1080 × 1080 px | Square social media templates |
| Instagram story | 1080 × 1920 px | Vertical story templates |
| Pinterest pin | 1000 × 1500 px | Tall pins that link to a shop or blog |
| Resume | US Letter 8.5 × 11 in | Job seekers editing their own details |
| Presentation / slides | 1920 × 1080 px | Slide decks, workshops, lead magnets |
| Ebook / workbook page | US Letter or A4 | Multi-page guides and workbooks |
In Canva, click Create a design → Custom size and enter your dimensions. If you are making a printable, design in inches (8.5 × 11) rather than pixels — it keeps the print size exact.
Tip: make one page first and get it right before duplicating it into a 10-page set. A mistake copied across 10 pages is 10 fixes; a mistake on one page is one fix.
Step 2: Set Up Your Design (Margins, Grid, Background)
A template that looks professional is mostly a template with consistent spacing. Before adding any content:
- Set your margins. Keep all text and important elements at least 0.5 inches (about 150 px on a Letter page) from the edges. Anything closer risks being cut off when a buyer prints it.
- Turn on rulers and guides (File → Show rulers, then drag guides from the ruler). A centre vertical guide and two margin guides are enough for most templates.
- Pick a background. A plain background (white, cream, or one soft colour) is best for a first template. Busy backgrounds make text hard to read and harder for buyers to change.
- Add your colour palette as shapes. Put small colour squares off to the side of the page (or on a hidden "brand" page) so you can sample the exact colours while you design. Delete them before sharing.
If you are making a multi-page template, duplicate the finished first page and change the content — never rebuild each page from scratch. That is how you keep fonts, spacing, and colours identical across the whole set.
Step 3: Build the Layout (Frames, Text, and Shapes)
Build the page in this order: structure first, decoration last.
- Place the big blocks first. Title area at the top, main content in the middle, footer or page number at the bottom. Use rectangles and lines to mark the sections before adding any text.
- Add headings before body text. Type your heading, set its font and size, then copy that heading style for every other heading on the page. Consistency is what makes a template look designed rather than assembled.
- Use text boxes, not text on images. Every piece of text a buyer needs to change must be its own editable text box. Text baked into a background image cannot be edited — and buyers will ask for a refund.
- Use frames for photos and images. A frame lets the buyer drag their own photo in and have it cropped automatically. For a resume or social template, frames are the feature buyers notice first.
- Leave breathing room. White space is not wasted space. A page with a margin of empty space around every block is easier to read, easier to print, and easier for a buyer to edit without breaking the layout.
Font sizes that work: headings 28–40 pt, subheadings 16–20 pt, body text 11–14 pt on a printable page. If your body text is smaller than 10 pt, most buyers will find it hard to read when printed.
Step 4: Make the Text Properly Editable
This step is what separates a template from a picture. A buyer who cannot easily edit your template will not buy a second one.
- Use real text, in common fonts. Canva's free fonts (such as Montserrat, Open Sans, Lato, Playfair Display) are safe — every buyer can use them without a Pro account. A template built with Pro-only fonts shows a "Pro" warning to free users and locks them out of editing.
- Label your layers. In the Layers panel, rename key elements ("Title", "Name field", "Photo frame") so buyers can find them. It takes two minutes and prevents confused messages later.
- Leave placeholder text that explains itself. Write "Your Name Here" instead of "John Smith", and "Write your goal here" instead of lorem ipsum. Placeholders that explain themselves are instructions built into the product.
- Lock what should not move. Select background shapes, decorative lines, and logos, then click the lock icon. Locked elements stay put while the buyer edits the text around them. Lock the background, leave the text unlocked.
- Group related elements. Select a heading plus its underline, or an icon plus its label, and group them (Ctrl/Cmd + G). Grouped elements move as one piece, so buyers do not accidentally pull your layout apart.
Test this now: click on each text box and type something longer than the placeholder. If the text overflows the box or pushes other elements around, shorten the placeholder, shrink the font, or enlarge the box before you sell it.
Step 5: Test Your Template Like a Buyer Would
Never share a template you have not tested from the buyer's side. Run this five-minute check:
- Duplicate the design and open the copy as if you were the buyer.
- Change every text box. Type a longer name, a longer title, a full sentence where a short one was. Does anything overflow or overlap?
- Swap a photo in every frame. Does the frame crop it sensibly?
- Change the colours. Can you change the heading colour without hunting through locked layers?
- Download it as a PDF (for printables) or PNG (for social templates) and open the file. Check the margins, the sharpness, and that nothing is cut off at the edges.
- Print one page if it is a printable. What looks fine on screen sometimes prints with tiny text or pale colours. One test print catches both.
Fix everything you find, then test once more. A template that survives this check is ready to sell. One that fails it will generate refund requests and one-star reviews.
Step 6: Share It as a Template Link (The Key Step)
A template link is how Canva lets a buyer get their own editable copy of your design without editing your original. This is the delivery method for almost every Canva template sold on Etsy and Gumroad — get it right.
- Open your finished design in Canva.
- Click Share (top right), then Template link (under "Share this design as a template" — if you do not see it, click "More" and search for "Template link").
- Canva generates a link. Copy it and test it in a private/incognito browser window while logged out of Canva, or ask a friend to open it. The buyer should see a "Use template" button and land in their own copy — never in your original file.
- Save the link somewhere safe (a document, not just the browser tab). This link is your product's delivery file. If you lose it, you have to regenerate it.
- Never share the ordinary "Share → Anyone with the link can edit" link. That link lets anyone edit your original design. A template link creates a copy; an edit link edits your master file. Mixing them up is the single most expensive beginner mistake in Canva templates.
What if you need to update the template later? Edit your original design, then generate a fresh template link and replace the old one in your listings. Buyers who already used the old link keep their copies — updates do not flow to them automatically, so mention "updated version" in your listing when you make a meaningful change.
Can you revoke a template link? Canva does not offer a simple "revoke this link" button. If a link leaks publicly, the practical fix is to duplicate the design, generate a new template link from the copy, and replace the link everywhere it was listed. Keep your template links out of public posts — deliver them only through your shop's download file or delivery email.
For the full picture of how that link reaches the buyer after checkout, read How to Deliver a Digital Download on Gumroad & Etsy.
Step 7: Export and Deliver Your Template
How you deliver depends on where you sell:
- Etsy or Gumroad: buyers download a PDF instruction file from you that contains the template link and a short "how to use it" note. Never put the live Canva link directly in a listing description — it can be copied by anyone who views the page.
- Your own site: the same PDF instruction file works, delivered after checkout.
- Printable templates: also export a PDF of the finished design (File → Download → PDF Print) so buyers who just want to print — not edit — have a ready file.
- Social templates: export a PNG preview of one or two pages for your listing images. Buyers judge a template by its preview, so show the actual design, not a stock photo.
Write a one-page instruction PDF for every template: what it is, how to open the template link, how to edit text and photos, how to download, and how to contact you for help. Most buyer messages are answered by that one page.
If you are ready to turn this template into a product, our guide How to Create a Digital Product in Canva, Start to Finish walks through pricing, listing, and launching it — and How to Sell Canva Templates Without Etsy Fees covers selling it from your own site and Gumroad.
Common Beginner Mistakes (and the Fix)
| Mistake | Why it hurts | Fix |
|---|---|---|
| Using Pro-only fonts or elements | Free buyers see locked content and cannot edit | Stick to free fonts and elements; check the "Pro" crown icon |
| Text baked into a background image | Buyers cannot change it | Keep all text as separate text boxes |
| Sharing an edit link instead of a template link | Strangers can change your original design | Always use Share → Template link, and test it logged out |
| No margins on a printable | Text gets cut off when printed | Keep 0.5 in clear space on all sides |
| Six fonts and ten colours | Looks messy, hard to edit | Two fonts, three to four colours, everywhere |
| Never testing as a buyer | Overflowing text and broken frames reach customers | Duplicate, edit everything, download, print one page |
| One page only, no variations | Buyers expect a usable set | Offer at least 3–5 pages or variations in the first version |
FAQ
Can I make a template in Canva for free?
Yes. A free Canva account can create, share, and sell templates. The only rule is to use free fonts, free elements, and free photos — Pro-only assets lock free users out of editing.
What is the difference between a Canva design and a Canva template?
A design is your file. A template is a design shared through a template link, so each person who opens it gets their own editable copy. Your original never changes.
Do buyers need Canva Pro to use my template?
No, as long as you built it with free assets only. If your template uses a Pro font or element, free users will see a Pro warning and cannot edit that part without upgrading.
Can I sell the same template on Etsy and Gumroad?
Yes — you sell the same template link through both shops. Just keep one master design in Canva and update the link in both places if you ever change it.
How do I stop someone sharing my template link?
You cannot fully prevent sharing, but you can limit the damage: never post the live link publicly, deliver it only inside the download file, and if a link leaks, duplicate the design and generate a fresh link.
What size should my first template be?
Pick the size your buyer will actually use. Printable planners and worksheets: US Letter 8.5 × 11 in. Instagram posts: 1080 × 1080 px. One size, one purpose, done well.
Your First Template Checklist
Before you share or sell, confirm each of these:
- One template type, one size, one job
- Margins set, guides on, background simple
- All text is editable text boxes in free fonts
- Photos sit in frames, not pasted flat
- Backgrounds and decorations locked; text unlocked
- Tested as a buyer: edited every box, swapped every photo, downloaded and printed one page
- Shared as a template link — and tested logged out
- One-page instruction PDF written (how to open, edit, download)
- Preview images exported for the listing
Once that checklist is green, your template is ready. Your next step is a mockup for the listing — How to Create Mockups for Etsy Listings in Canva (Free) shows how — and then your first sale.
Related Reading
- How to Create a Canva Template, Step by Step — the full project walkthrough (one planner page, start to finish)
- How to Create a Digital Product in Canva, Start to Finish — from template to launched product
- How to Sell Canva Templates Without Etsy Fees — your own site + Gumroad
- Free Budget Planner — a free template to study and use